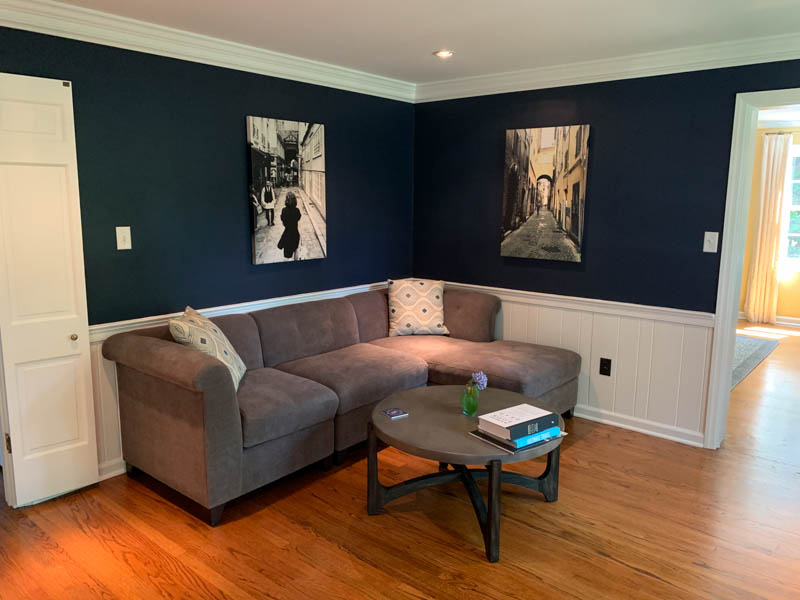
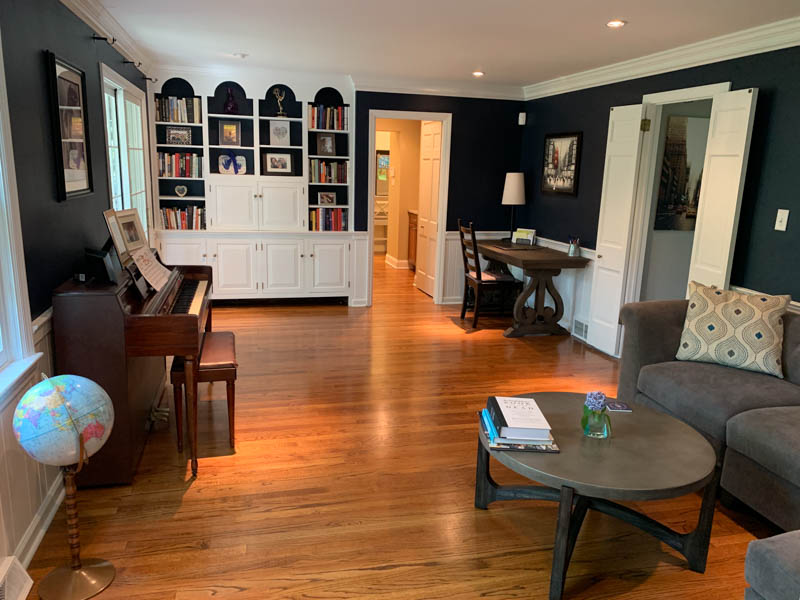
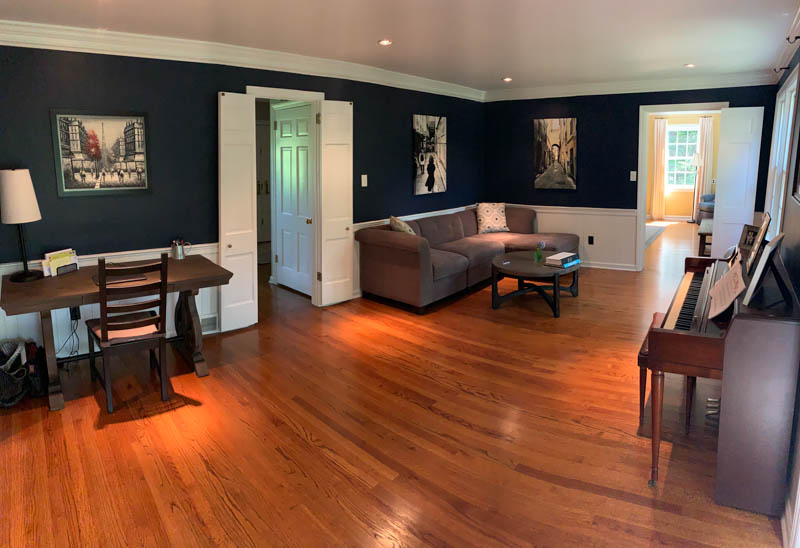
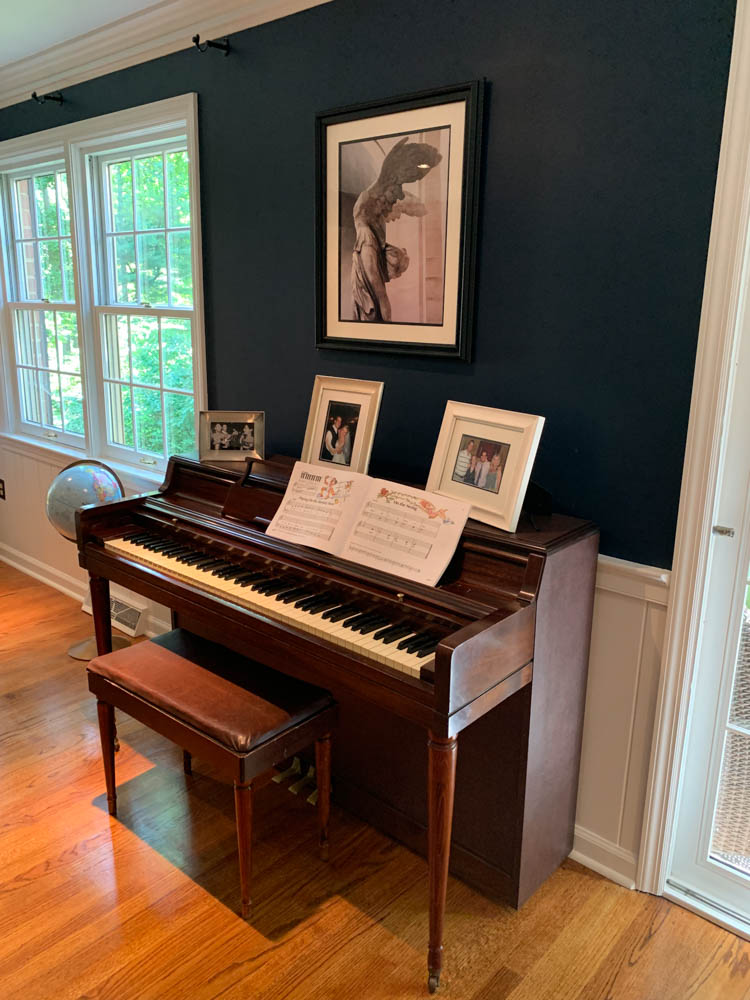
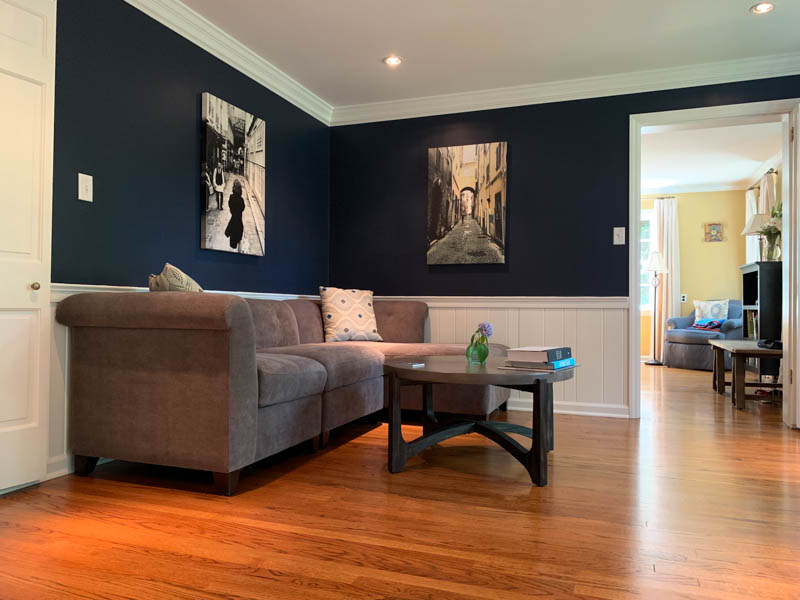
Interior Redesign in Wallingford, PA
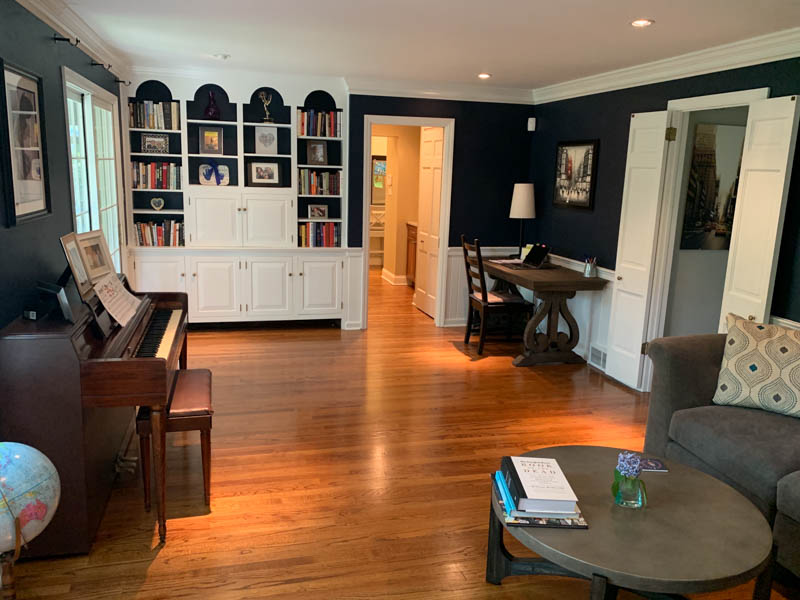
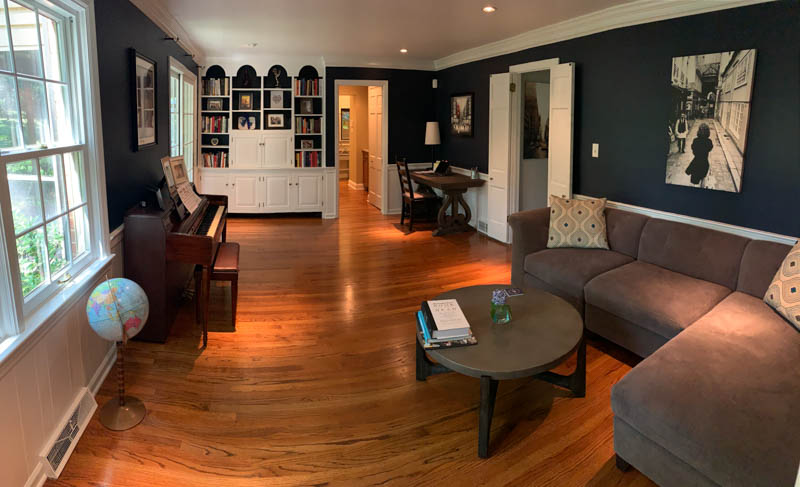
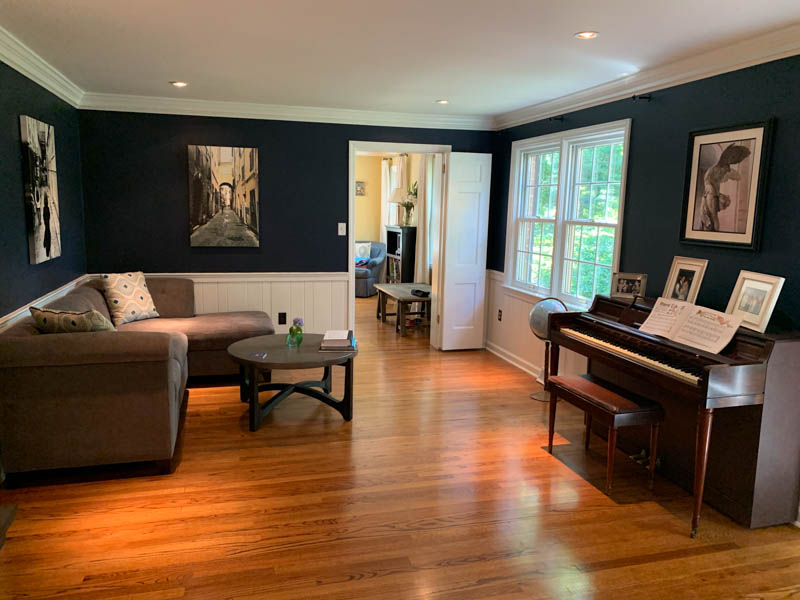
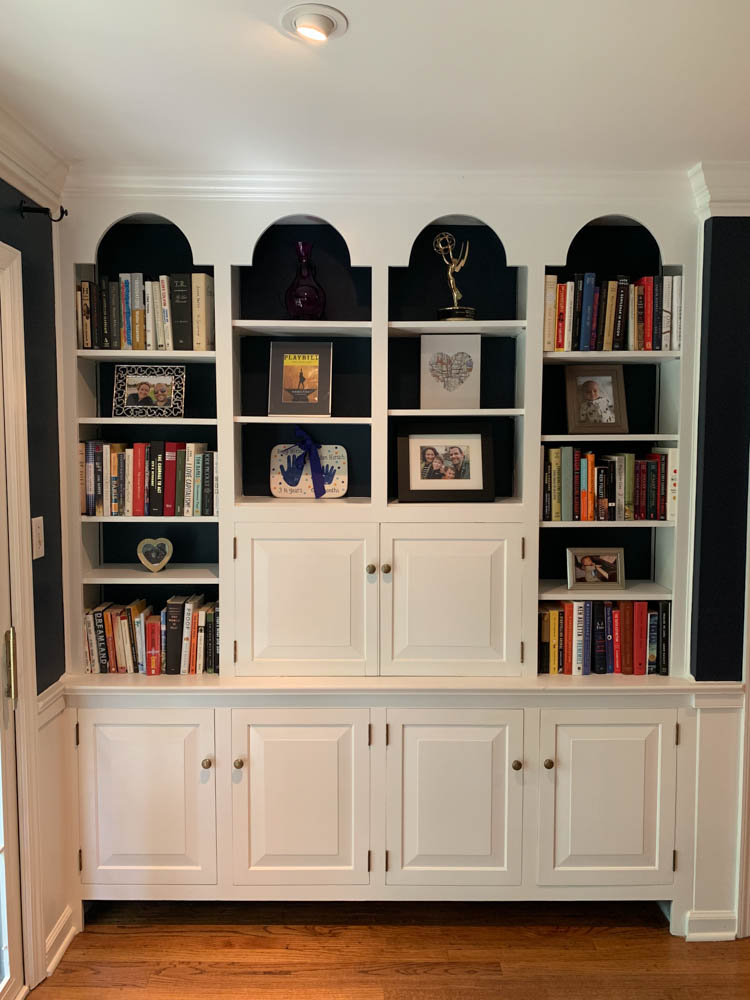
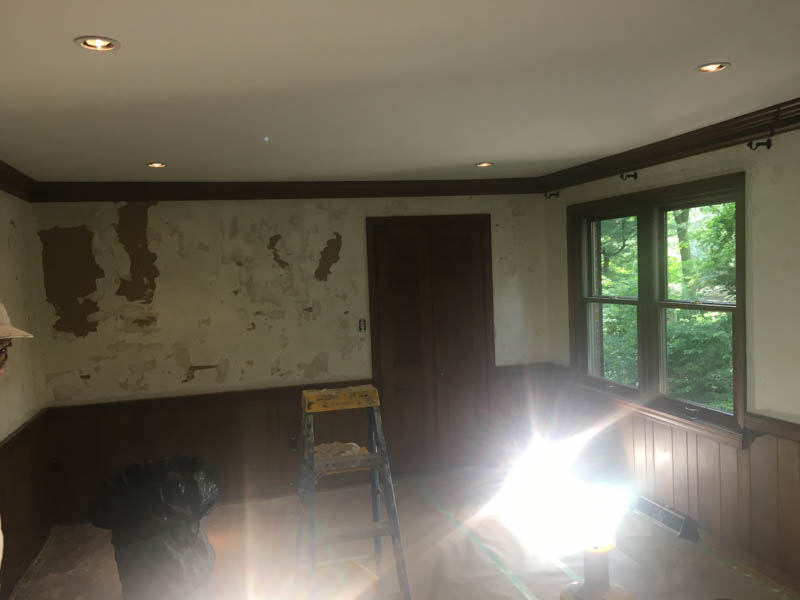
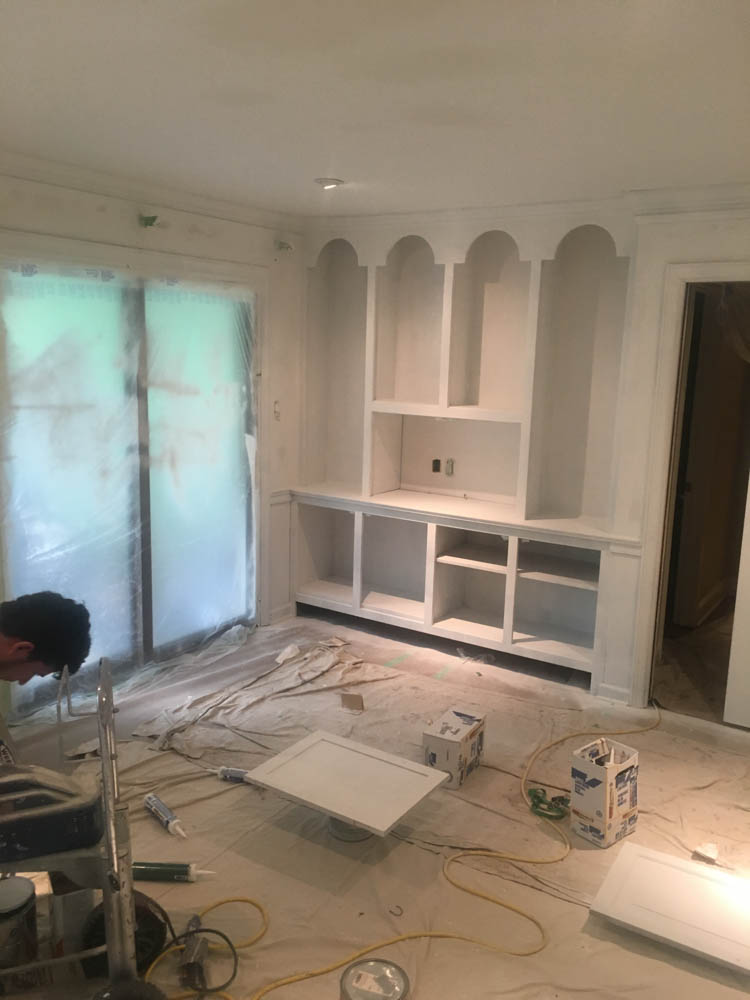
I met the Hirsch family through my friends Erica and Dave Deuschle, who are realtors and were helping the Hirsches buy a home in Wallingford, PA. (Shout out to Fox and Roach Realty.) The couple was moving from a few hours away in central PA and needed the majority of their new home painted before they moved in. Our Wallingford painting contractors were happy to help. They did an awesome job selecting colors in all of the rooms, but the most drastic change was in the den. The den had a dated look with old wallpaper over dark stained wainscoting and other woodwork including some built-in shelving. The couple decided that they wanted to brighten up the woodwork/cabinets by painting them white. They selected a bold, dark, rich blue color for the walls above the wainscoting. The contrast of the two colors really made them stand out.
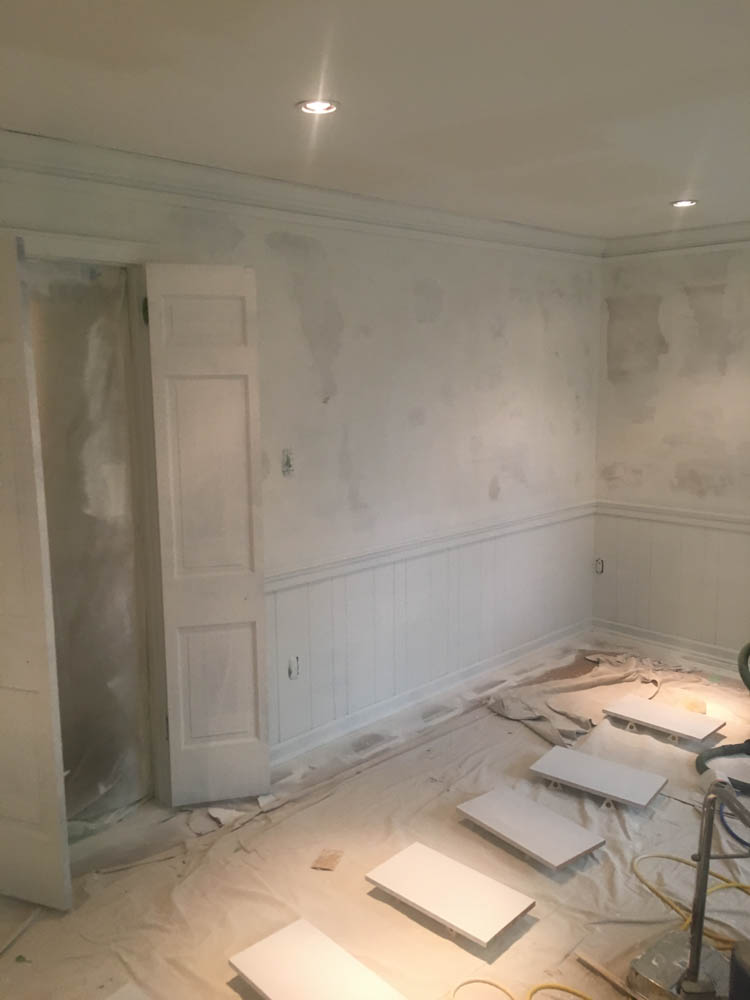
First, though, like in most interior painting jobs, we had to get rid of that old wallpaper which turned out to be more challenging than initially thought. Unfortunately whoever installed the wallpaper did not properly prepare the walls first which resulted in the paper bonding to the drywall beneath it. As we removed the wallpaper, some of the drywall paper came off as well, setting us up for a good deal of wall repairs later.
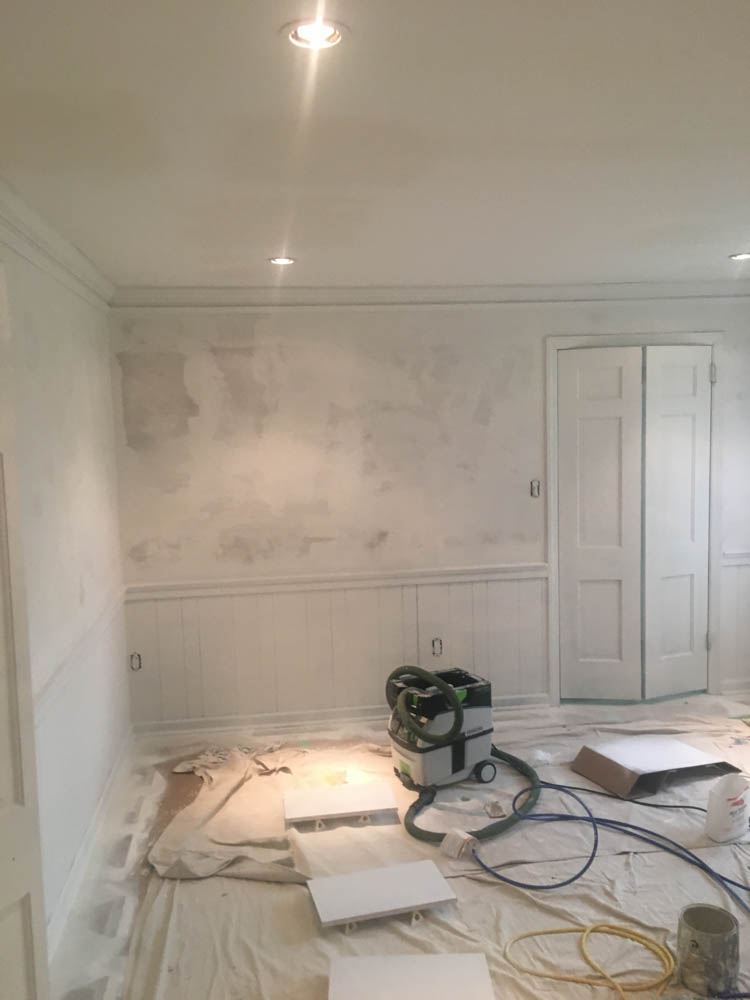
The first thing you need to do after removing wallpaper and washing the walls is to apply an oil-based primer after the walls have dried. After some sanding, we decided to prime the woodwork/cabinets with the same primer in order for the paint to have a good bond with the existing coating. The primer we used was Sherwin William's extreme block primer.
We chose this primer because the oil-based smell was minimal compared to some other primers. We decided to spray the woodwork because it provided the smoothest finish. After priming almost everything in the room, we lightly sanded everything. Once everything was white, all of the gaps between the moldings were now visible, so we spent a good amount of time caulking in the woodwork. Then the wall repair. Some of the areas required 3 coats of joint compound. We sanded and spot primed the bare compound, and it was now ready for paint. Finally!
We apply two coats of paint to everything. No cutting any corners.
Just like with the primer, we used Sherwin Williams for all of the paint as well. The products we used here were Extreme Cover in flat on the ceilings, Duration Interior in matte on the walls, and Emerald water-based urethane semi-gloss enamel on the woodwork. The Duration is known for its cleanability. We like to use the Emerald urethane because once it dries, it is a very durable product. It dries harder than both oil-based enamels and traditional latex paints. This is especially important when painting cabinets.
Interior Redesign in Wallingford, PA Photos - Before
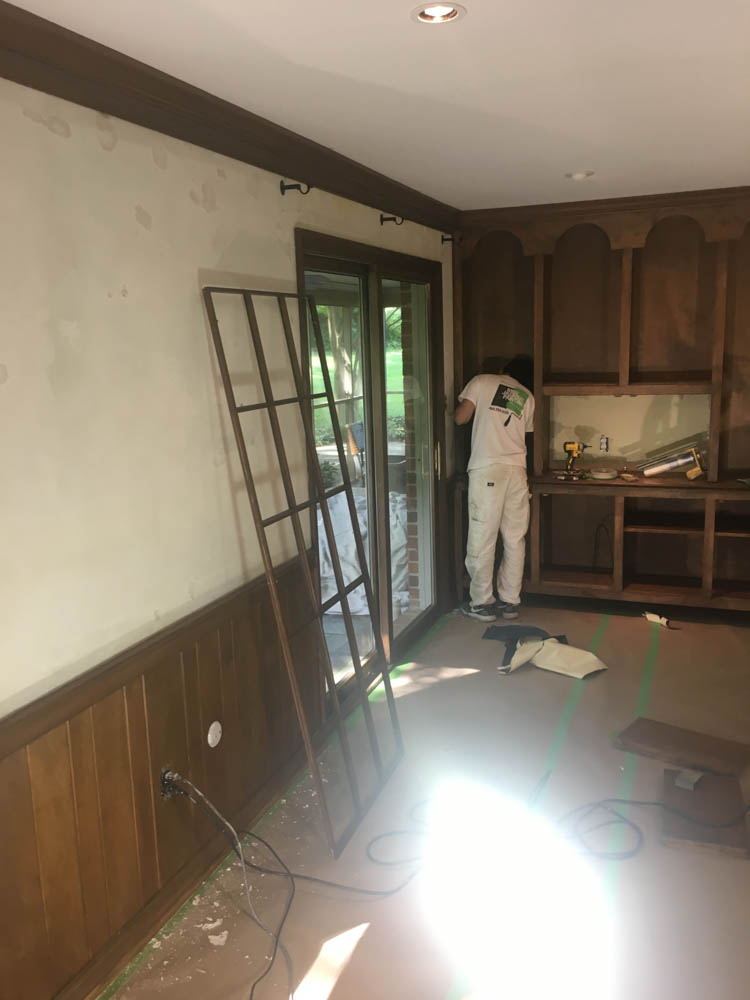
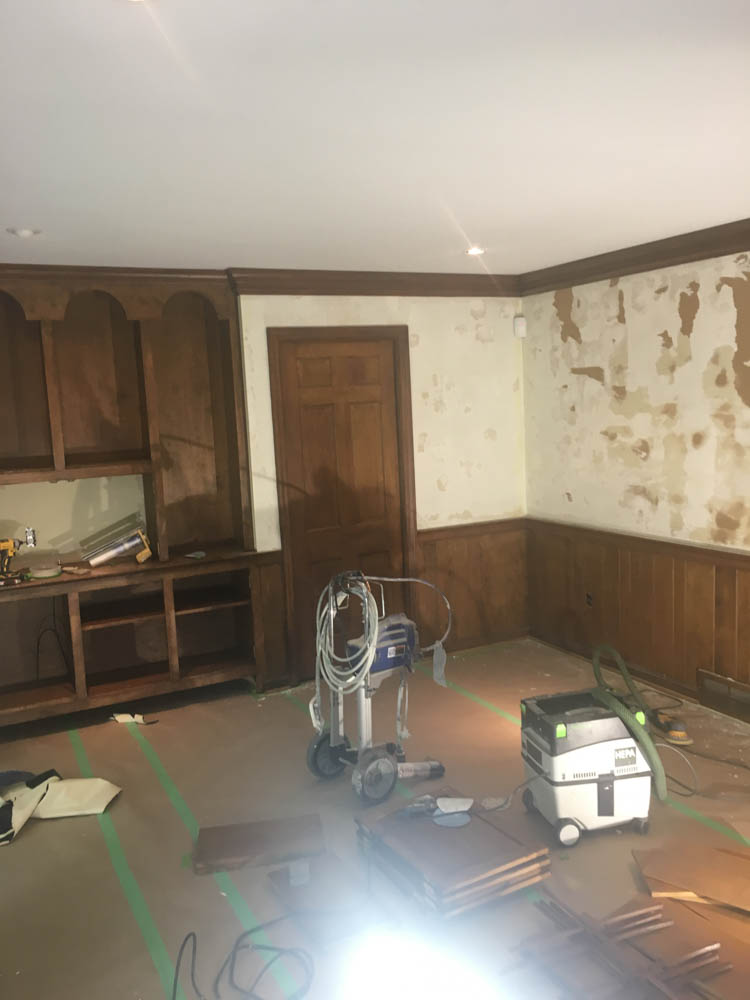
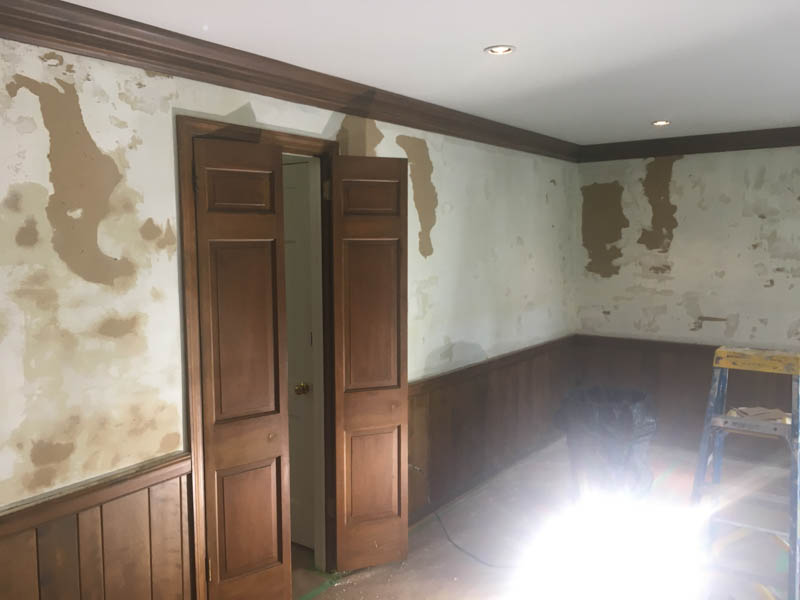
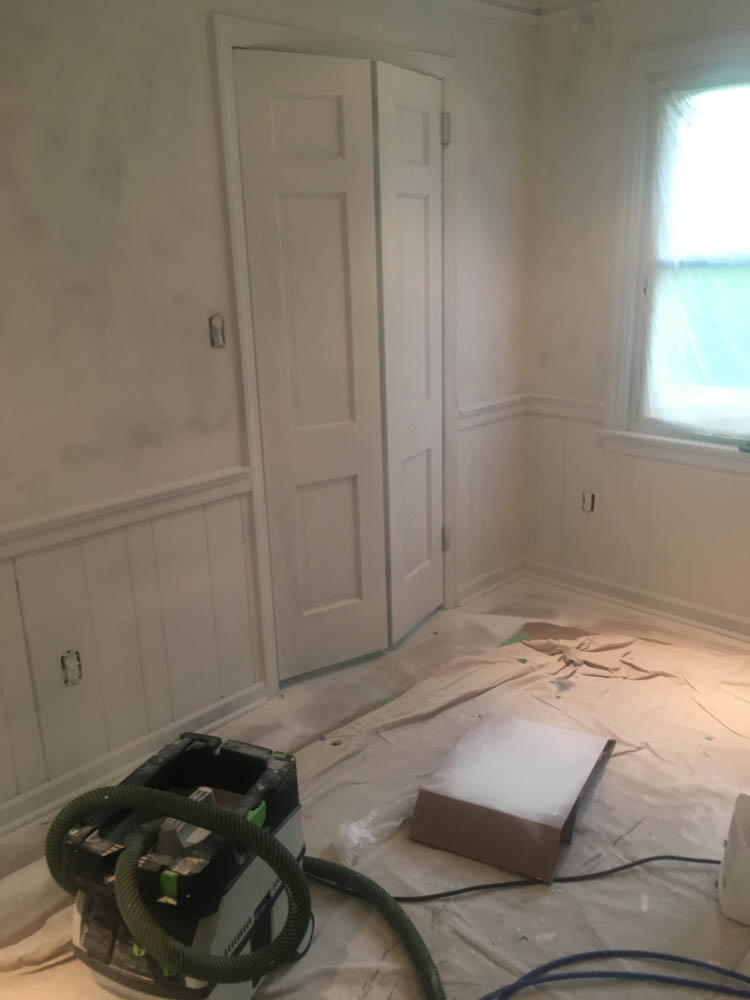
Interior Redesign in Wallingford, PA Photos - During
Interior Redesign in Wallingford, PA Photos - After